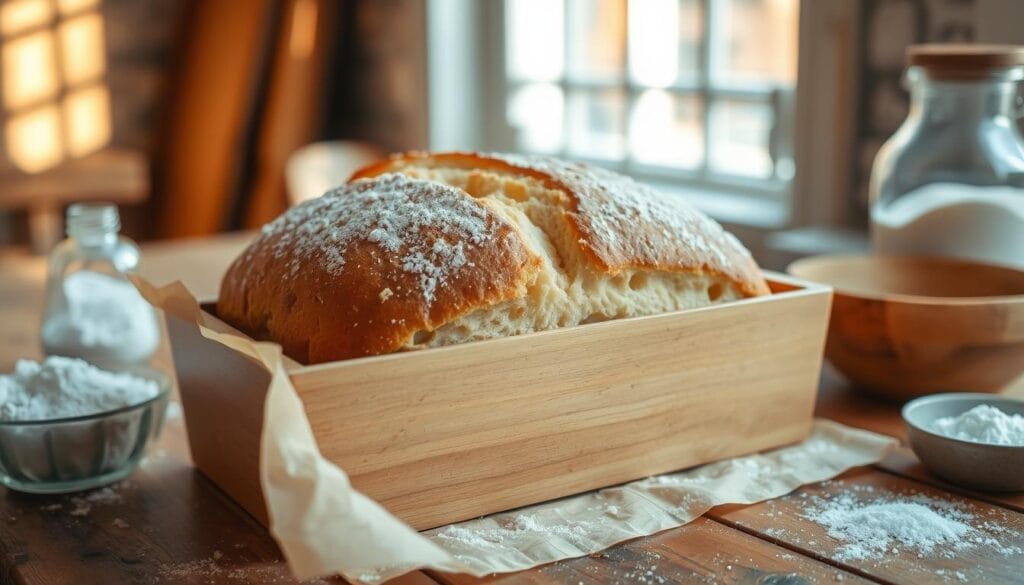
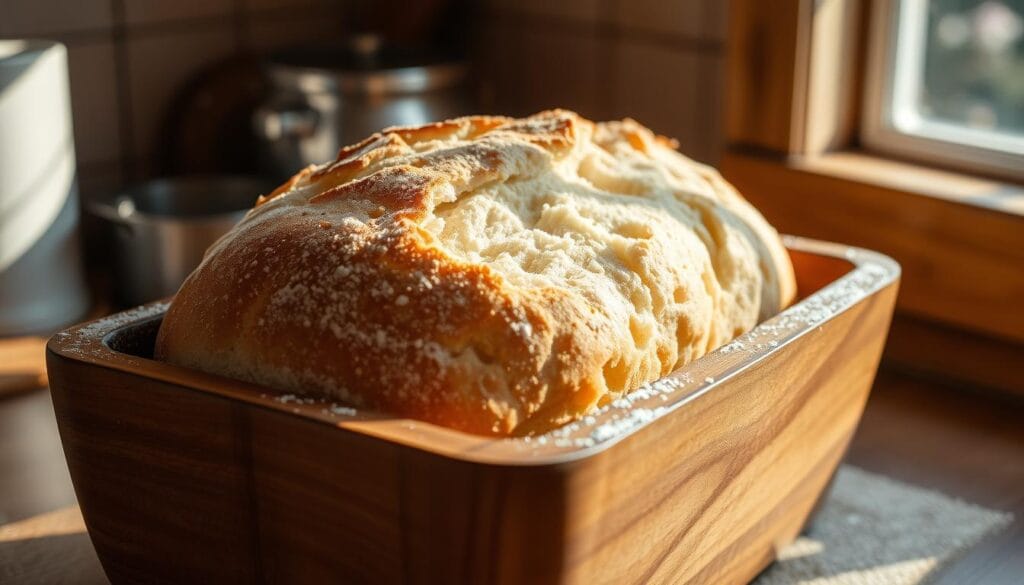
Baking sourdough bread at home is truly magical. The aroma, the crisp crust, and the soft inside feel like a cozy bakery. Today, I’m excited to share a recipe for homemade sourdough sandwich bread. It’s perfect for toast or sandwiches.
Table of Contents
Understanding Sourdough Starter Basics
At the heart of a delicious leavened bread is the sourdough starter. It’s a living culture that starts the fermentation process. This mix of fermented dough and wild yeasts brings out the unique flavors and textures of real sourdough starter.
What Makes an Active Starter
An active sourdough starter is key for great bread. It should be fed 12 hours before mixing the dough. Use a 1:4:4 ratio of starter, flour, and water for a slow rise. For quicker activation, try a 1:1:1 ratio.
Proper Feeding Schedule
- Keeping a regular feeding schedule is vital for a healthy starter.
- Feeding the starter daily, or twice a day, keeps fermentation strong.
- Storing the starter in the fridge between bakes slows down feeding needs.
Signs of Starter Readiness
When the starter is ready, it shows certain signs:
- It doubles in size after feeding.
- It looks bubbly and foamy.
- It has a sour smell, showing active fermentation.
Watching for these signs helps you know when to add the starter to your dough. This ensures the best leavened bread results.
“Proper feeding maintains the starter’s health and ensures consistent bread quality.”
Essential Ingredients and Equipment
Making delicious artisan bread at home starts with the right bakery bread ingredients and tools. For soft, homemade bread baking, you need a few key items for great taste and texture.
The main ingredients for sourdough sandwich bread are unbleached all-purpose flour (King Arthur is a good choice), warm water (about 80°F), an active sourdough starter, honey, light olive oil, and kosher salt. These add sweetness, flavor, and depth to your bread.
You’ll also need a few tools. A 9″x5″ loaf pan, a stand mixer with a dough hook, or a hand mixer, a Danish dough whisk, a metal bench scraper, and a kitchen scale are must-haves. These help you get the perfect texture and rise in your homemade artisan bread.
| Ingredient | Quantity |
|---|---|
| Unbleached All-Purpose Flour | 1000 grams |
| Filtered Water (slightly warm) | 500 grams |
| Active Sourdough Starter | 200 grams |
| Honey | 24 grams |
| Light Olive Oil | 120 grams |
| Kosher Salt | 18 grams |
With these bakery bread ingredients and tools, you’re ready to make the perfect soft, sourdough sandwich bread in your kitchen.
Preparing Your Sourdough Sandwich Bread Dough
Making the perfect sourdough sandwich bread begins with dough preparation. You can use a stand mixer or knead by hand. The goal is to make a dough that rises well and bakes into a soft loaf.
Mixing Technique
Start by mixing dry ingredients like flour, whole wheat flour, salt, and spices. Then, add wet ingredients like water, olive oil, honey, and sourdough starter. Use a whisk or spatula to mix until it’s shaggy. Then, knead with your hands to build the gluten.
Initial Rest Period
Let the dough rest for about 1 hour after mixing. This helps the flour soak up the water, making it easier to knead.
Proper Dough Consistency
Knead the dough for 8-10 minutes until it’s smooth and slightly tacky. It should pass the windowpane test, showing it’s light and airy.
“Proper mixing and kneading are crucial for developing the gluten structure, which will result in a soft, fluffy sourdough sandwich bread.”
The dough’s consistency is key. It should be smooth, slightly tacky, and easy to handle. By following these steps, you’ll get a great bulk fermentation and a fantastic loaf of homemade sourdough bread.
The Art of Bulk Fermentation
Making the perfect long-fermented bread or sourdough sandwich bread needs skill in bulk fermentation. This step is key for the bread’s structure, flavor, and texture.
The bulk fermentation for sourdough sandwich bread usually takes 4-6 hours in a warm spot, like 68-72°F (20-22°C). The dough will grow twice its size as the yeast and bacteria in the sourdough starter work.
To get the best bulk fermentation, follow these tips:
- Cover the dough bowl with a damp towel or plastic wrap to keep moisture in and prevent a skin.
- If your kitchen is cool, add more sourdough starter to speed up fermentation.
- In warmer places, watch the dough closely to avoid over-proofing, which can make the loaf dense or collapsed.
This longer fermentation time is key for the bread’s complex flavors and soft, chewy texture. By getting good at bulk fermentation, you’ll make the perfect loaf.
| Ingredient | Quantity |
|---|---|
| Bread Flour | 3 cups (360g) |
| Sourdough Starter | 1/2 cup (120g) |
| Water | 1 cup (240ml) |
| Salt | 1.5 tsp |
| Sugar | 1 tbsp |

“The long fermentation process is the key to unlocking the complex flavors and tender crumb in sourdough sandwich bread.”
Mastering the Perfect Sourdough Sandwich Bread
Making the ultimate sourdough sandwich bread is all about shaping and choosing the right pan. These steps are key to getting a soft, fluffy crumb and a domed crust.
Shaping Techniques
To shape your sourdough dough, start by pressing it into a rectangle on a floured surface. Fold the sides in to make a tight log. Then, roll the dough to tighten the surface, making it smooth.
Creating Surface Tension
Shaping right is key for the right surface tension. Cup your hands around the dough and pull it towards you. This creates a smooth surface, trapping air for a light crumb in your artisan bread.
Pan Selection Tips
The right pan is crucial for baking the perfect sourdough. A 9″x5″ rustic loaf pan is best for even rising. Line the pan with parchment paper for easy dough removal, placing the dough seam-side down.
Mastering these shaping techniques and choosing the right pan will help you bake a delicious sourdough sandwich loaf. It will satisfy your cravings and delight your senses.
Second Rise and Proofing Process
To get the perfect texture and crumb in your sourdough sandwich bread, focus on the second rise. This stage is key for developing flavor and structure before baking.
After shaping your leavened bread dough, put it in the loaf pan. Let it proof at room temperature. It should rise about 1 inch above the pan’s rim, taking 2-3 hours. Watch it closely to avoid over-proofing, which can make the loaf dense.
Getting the proofing right is crucial for a soft, fluffy sourdough sandwich bread. Keep an eye on it and use a poke test to check readiness. With practice, you’ll get the hang of it and enjoy great results.
“Proofing times can range from 1 to 2 hours at 80°F (26°C) to 10 to 16 hours at 39°F (4°C), depending on the temperature and your desired level of sourness.”

The second rise is a delicate balance. Too little time can make the bread dense, while too much can cause it to collapse. By watching your sourdough sandwich bread closely, you’ll get a soft, tasty loaf that will wow everyone.
Baking Techniques for Soft Sourdough
To get the perfect soft sourdough sandwich bread, you need to master baking techniques. We’ll cover the essential steps to get a delicious crust and a soft inside.
Temperature Control
First, preheat your oven to 450°F (232°C). This high heat creates a crispy, golden crust. Then, lower the oven to 375°F (190°C) and bake for 45-50 minutes. Your loaf will turn a deep brown.
Steam Methods
- Creating steam in the oven is key for a soft crumb and a tasty crust.
- Just before baking, spray the loaf with water to create steam and help it rise.
- Place a few ice cubes in a hot skillet or pan on the oven’s bottom rack. As they melt, they’ll release steam that wraps around the bread.
Crust Development
The right mix of high heat and steam makes a perfect crust. The heat sets the crust, and the steam helps the bread expand and shine.
| Baking Step | Temperature | Duration |
|---|---|---|
| Initial Bake | 450°F (232°C) | 12 minutes |
| Reduce Temperature | 375°F (190°C) | 33-38 minutes |
With these techniques, you’ll make soft, crusty sourdough bread. It’s great for sandwiches, toasting, or just with butter.
Storage and Preservation Methods
Keeping your homemade or artisan bread fresh is key to enjoying it fully. Whether it’s a soft sourdough sandwich bread or a crusty artisan bread, the right storage can help. It keeps the bread fresh and its texture delicious.
To store your freshly baked bread, consider these methods:
- Room Temperature Storage: Store your bread in a bread bag, beeswax wrap, or a clean kitchen towel at room temperature for up to a few days. This keeps the bread’s crust and crumb intact.
- Freezing for Longer Storage: Slice the bread and put the slices in a freezer-safe container or bag. This can keep the bread fresh for up to 3 months. Make sure the bread is cool before freezing to avoid moisture.
- Refrigeration: Don’t store bread in the fridge. It can become stale and hard faster because of starch retrogradation.
Homemade bread without preservatives has a shorter shelf life. So, it’s important to store it right to keep it fresh and prevent mold. By following these tips, you can enjoy your homemade or artisan bread for days.
“Properly stored, homemade bread can stay fresh and flavorful for up to a week. Frozen bread can last for months.”
Conclusion
Making soft sourdough sandwich bread at home takes patience and practice. But the results are totally worth it. This recipe shows you how to make a light, airy loaf with a crispy crust. It’s perfect for sandwiches, toast, and more.
By learning sourdough baking techniques, you can bake artisan bread in your kitchen. You only need a few ingredients and tools.
Try different things with the recipe to match your taste and kitchen. With a bit of trial and error, you’ll make sourdough sandwich bread as good as your favorite bakery. Enjoy the journey and the joy of making delicious homemade bread.
Start your journey into sourdough sandwich bread and enjoy baking your own homemade bread at home. This recipe is a great starting point. Feel free to make it your own. Share your creations with loved ones for an even better experience.

