Every great sandwich starts with a perfect hoagie roll. Growing up, my family loved making sandwiches. We knew the bread was key to a great meal.
Making the perfect long roll is an art. It needs skill, passion, and a little magic. Whether you want an Italian sub or a cheesesteak, mastering the hoagie roll will take your sandwiches to the next level.
This guide will teach you to make delicious hoagie rolls. You’ll learn the basics and how to get that perfect crust and soft inside. Soon, you’ll be a sandwich bread expert.
Table of Contents
Understanding the Classic Hoagie Roll Tradition
The hoagie roll is a key part of Italian-American food culture. It started in Philadelphia and is now a favorite for sandwiches in America. Its history goes back to the early 1900s, tied to Italian immigrants at Hog Island shipyard.
Across the U.S., different names for this bread show its cultural importance. Here’s what people call it in different places:
- New York calls it a “hero”
- Midwest knows it as a “submarine” or “sub”
- New England refers to it as a “grinder”
Origins of the Italian Sub Roll
The italian roll came from Philadelphia’s immigrant community. The Hog Island shipyard, with over 36,000 workers, helped create this bread. Workers needed food that was filling and easy to eat on the go.
*A sandwich is a true reflection of cultural creativity and adaptation.*
What Makes a Perfect Hoagie Roll
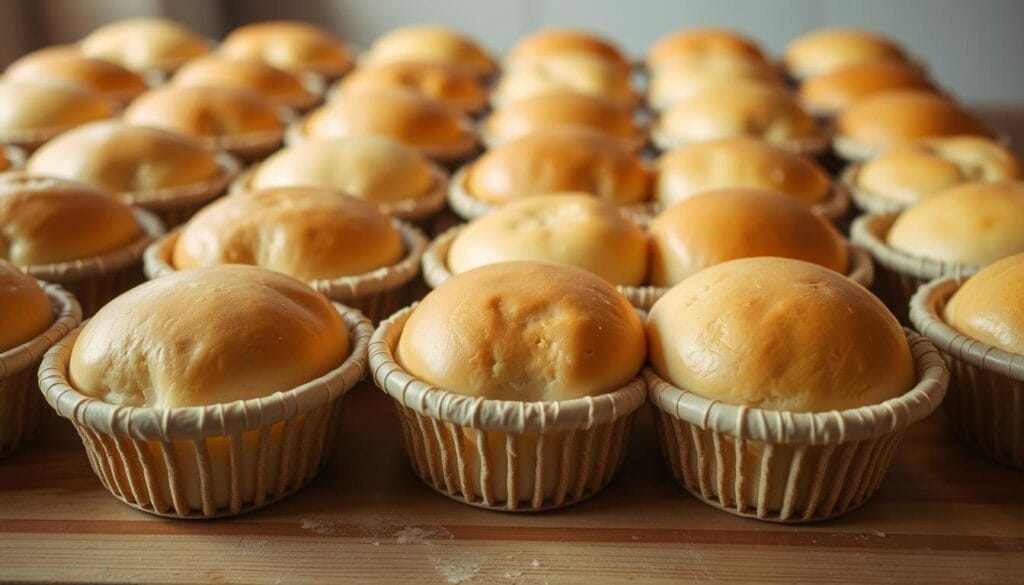
A great hoagie roll has a crispy outside and a soft inside. This texture keeps it together, even with lots of filling.
Different Types of Submarine Sandwiches
There are many tasty submarine sandwiches. You can find everything from Italian cold cuts to vegetarian choices. The hoagie roll is loved for its ability to hold different fillings.
- Philadelphia-style Italian hoagie
- Vegetarian options with plant-based proteins
- Gourmet versions with artisanal ingredients
Today, the hoagie roll is getting new twists. Chefs are adding international flavors and healthier options while keeping its cultural roots.
Essential Ingredients for Homemade Hoagie Rolls
To make the perfect sub roll or hero bread, you need the right ingredients. These ingredients should work together to create a tasty sandwich base. Your homemade hoagie rolls will be a hit with the right mix.
The base of a great hoagie roll is high-quality flour. Bakers suggest using bread flour with 12% to 14% protein. This protein level helps your sub roll get the perfect chewy texture and structure.
- Bread Flour: 2½ cups (390 grams)
- Active Dry Yeast: 2 tablespoons (21 grams)
- Warm Water: 2 cups (420 grams)
- Sugar: ¼ cup (60 grams)
- Salt: 2 teaspoons (18 grams)
- Vegetable Oil: ⅓ cup (70 grams)
Adding a sourdough starter discard can make your hero bread even better. Using 1 cup of sourdough starter adds a unique flavor. The yeast percentage of 1.8% is a bit higher than usual. This ensures your rolls rise well and have a soft crumb.
Choose fresh and high-quality ingredients. Make sure your water is warm but not too hot. This helps activate the yeast without harming it. With the right ingredients, your home can become a professional bakery. You’ll make sub rolls that are as good as any deli’s.
Required Equipment and Tools for Baking
Making artisan bread needs the right tools for success. Both professional bakers and home cooks know that good equipment makes a big difference. The right tools are crucial for making tasty deli rolls that are as good as those from a bakery.
Before starting your baking journey, you’ll need to get the essential equipment. This will turn your kitchen into a pro bread-making space.
Stand Mixer vs Hand Kneading Techniques
When making deli rolls, you have two main kneading choices:
- Stand Mixer: Makes mixing 30% faster
- Hand Kneading: The traditional way that takes more effort
A stand mixer is a big investment, costing over $300. KitchenAid is a top pick for serious home bakers.
Essential Baking Sheets and Steam Setup
For the perfect artisan bread crust, you need the right baking gear:
| Equipment | Benefit | Efficiency Improvement |
|---|---|---|
| Cast Iron Pan | Keeps steam in | 30% More Dough Rise |
| Baking Sheet | Even heat | 20% Better Crust |
| Parchment Paper | Prevents sticking | Prevents Dough Sticking |
Additional Baking Tools
Complete your deli roll baking set with these must-haves:
- Kitchen Scale (Improves measurement by 20%)
- Dough Scrapers (Saves 15% of prep time)
- Pastry Brush
- Cooling Rack
Good tools make your deli roll baking go from amateur to pro. You’ll get delicious results every time.
Step-by-Step Dough Preparation Method
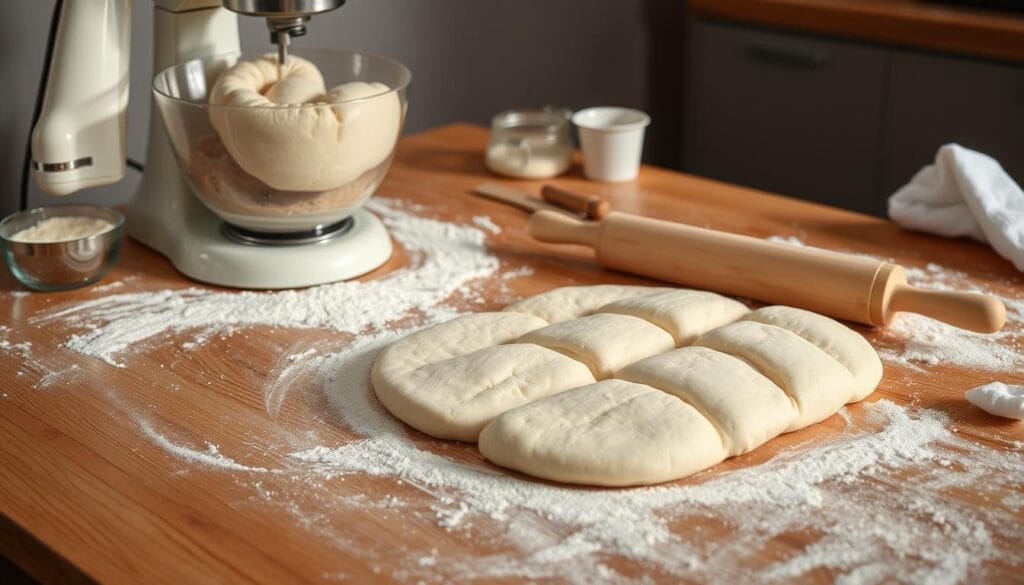
Making the perfect hoagie roll begins with preparing the dough. First, gather all your ingredients. Then, learn the exact mixing method that turns simple parts into tasty rolls.

- Start by mixing 1 tablespoon of yeast with 1.5 cups of warm water to activate the yeast.
- Add 1.5 tablespoons of sugar and wait 10 minutes for it to become bubbly.
- Then, add 1 teaspoon of salt and 3 tablespoons of vegetable oil.
- Slowly mix in 4 to 5.5 cups of flour until the dough is smooth.
Kneading is key to making your dough strong. Knead for 8-10 minutes until it’s smooth and elastic. Do the windowpane test by stretching a piece of dough. If it stretches thin without breaking, it’s ready.
| Ingredient | Quantity |
|---|---|
| Flour | 3 ½ cups |
| Water | 1 ¼ cups |
| Instant Yeast | 2 ½ teaspoons |
| Vegetable Oil | ¼ cup |
Let the dough rise in a warm place for about 1 hour, or until it doubles. After punching it down, divide it into 8-12 pieces for the right hoagie roll size. Let the pieces rest for 45 minutes before baking at 425°F for 15-19 minutes.
Mastering the Perfect Hoagie Roll Shape
Making the perfect long roll needs precision and skill. When you bake bread at home, learning to shape your hoagie rolls is key. This will give them a professional look and feel.
Dough Division Techniques
Begin by dividing your dough into equal parts. Use a kitchen scale for exact measurements. This ensures your hoagie rolls are the same size and bake evenly.
- Weigh each dough portion precisely
- Use a sharp bench scraper for clean cuts
- Aim for uniform size and weight
Expert Shaping Methods
To get a professional look, stretch and fold the dough. Tuck the edges under to make a smooth, oval shape.
- Pat the dough into a rectangle
- Fold the long sides toward the center
- Roll and seal the seam underneath
- Elongate to create the classic hoagie shape
Perfecting the Roll’s Appearance
Your goal is a smooth, even surface. Avoid overworking the dough to keep it light and airy. This is crucial for a great sandwich.
Pro tip: Let the shaped rolls rest for 15-20 minutes before baking to allow the gluten to relax and develop.
With practice, you’ll make long rolls that look like they’re from a bakery. The right shaping technique is what makes your homemade hoagie rolls stand out.
Rising and Proofing Techniques

Learning to rise and proof is key for making great italian roll and submarine roll recipes. The fermentation process turns simple ingredients into tasty bread. It adds complex flavors and the perfect texture.
The dough’s journey has two important stages:
- Initial bulk fermentation
- Second rise after shaping
Temperature is crucial for proofing. The best range for dough is 75°F to 85°F. This range helps yeast work best. Warm places speed up fermentation, while cooler spots slow it down.
| Temperature | Proofing Time | Characteristics |
|---|---|---|
| 39°F (Refrigerator) | 8-16 hours | Slow fermentation, enhanced flavor |
| 74-76°F | 2-4 hours | Moderate rise, balanced development |
| 80°F | 1-2 hours | Quick rise, active yeast |
The “poke test” checks if your submarine roll dough is ready. Press the dough gently with your finger. If it springs back slowly, it’s ready. A quick spring back means it’s not ready yet. No spring back means it’s overproofed.
“Patience transforms simple ingredients into extraordinary bread.” – Artisan Baker
Professional bakers say to watch your dough until it doubles in size. By mastering these proofing techniques, you’ll make submarine rolls that taste like they came from a bakery.
Steam Baking Process for Crusty Exterior
Creating the perfect sub roll or hero bread is all about steam baking. Professional bakers use steam to get a crispy, golden crust and a soft inside.
Home bakers can get similar results with a few easy steps. Steam keeps the roll’s outer skin soft during baking. This allows for a great rise and a beautiful crust.
Setting Up Your Oven for Steam
Here’s how to set up your oven for steam baking:
- Place a cast iron skillet with lava rocks in the oven bottom
- Use a rectangular baking pan with boiling water
- Toss 1 cup of ice into the hot pan just before baking
- Utilize parchment paper to manage roll spacing
Temperature and Timing Guidelines
Follow these steps for perfect steam baking:
- Preheat oven to 450°F
- Introduce steam during first 20 minutes of baking
- Remove steaming pan to allow crust to crisp
- Bake for additional 15-20 minutes until golden brown
Pro tip: The towel method can provide continuous steam. Soak kitchen towels in boiling water and place them in the oven. This method greatly improves your crust for hero bread or sub rolls.
Storage and Freezing Methods
Keeping your homemade artisan bread deli rolls fresh is key. Store them at room temperature for up to two days. Use a paper bag or bread box to keep them crisp and prevent moisture.
Freezing is great for longer storage. Wrap each roll in plastic wrap, then in a freezer bag. This way, your bread stays good for up to three months. To thaw, let it sit at room temperature and warm it in a 140°F oven for a few minutes.
If your rolls are sliced, stack them with alternating directions to prevent sticking. Don’t store them in the fridge, as cold air makes them stale faster. With these tips, your deli rolls will stay fresh and delicious for your next sandwich.

